 Knitting Needles
Easily Add a Lifeline to Your Knitting
6 Easy Steps to Add a Lifeline Using Interchangeable Needles
After reading my latest newsletter tips (sign up here), Kitty Kitty was inspired to share with me how she adds a lifeline to her knitting using her interchangeable needle cables. Plus she included a bonus tip that was new to me. For seasoned knitters, you can read the tips and quickly understand what’s going on. For new knitters there’s tutorial to show you exactly how to add a lifeline.
Here’s Kitty Kitty’s lifeline tip:
“Did you know that those holes your T-pin that are sticking through are awesome for lifelines? Just thread your floss/scrap yarn through the working needle, knit away, and Voila! Lifeline is placed. This might be a handy hint to pass along to others. Took me ages before I learned this.”
This tip is a big time saver. You’ll be sliding those stitches onto the scrap floss as you are knitting. The more common method (especially if you are using fixed needles) involves threading your tapestry needle with floss and running through all those stitches one at a time. Want to see exactly how to do this? Keep reading my knitting friend.
Tutorial: How to insert a knitting lifeline
To insert your lifeline you must be knitting with interchangeable needles. The metal cable ends have holes that “keys” or t-pins fit through so that you can tighten the needle tip onto the cables. We are going to use that same hole to place a knitting lifeline.
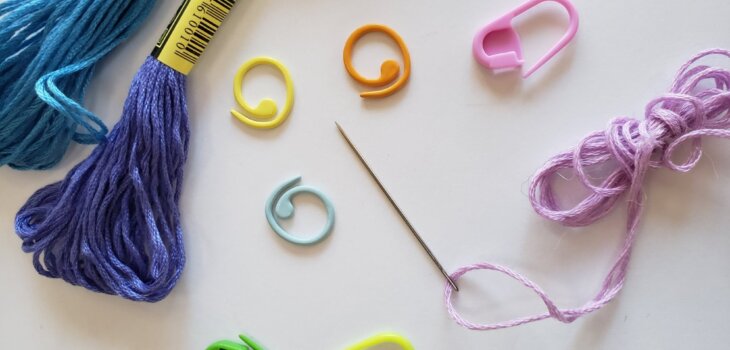
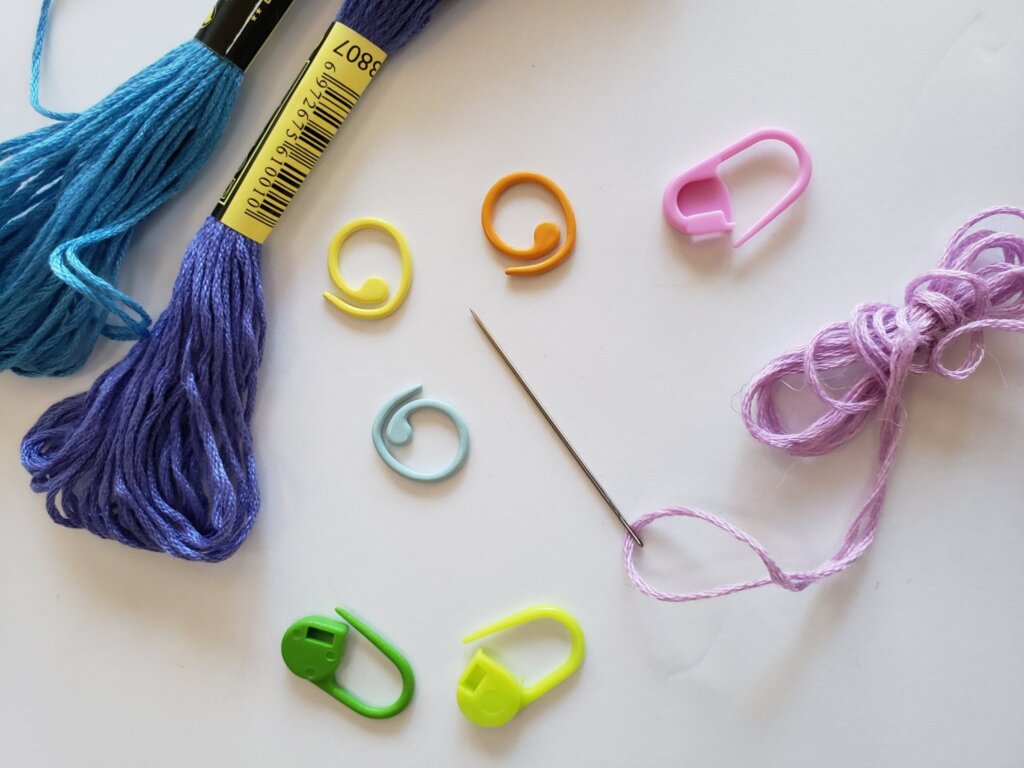
You will also need:
- Cotton floss that’s thin enough to pass through the hole in the cable end. This works best when the floss is a contrasting color from your project yarn. Any cheapy floss will work.
- A tapestry needle that will also fit easily through the same hole.
Step 1
Thread a length of floss that is at least 12″ longer than the total length of the live stitches that you want to place on it. So for 16″ of live stitches (stitches that are sitting on the needles waiting to be knit) you will need at least 28″ of floss.
Threading the floss into the needle can be a real chore. So you might want to take out one of the threads of the floss to make it easy enough to do.

Step 2
Grab your left hand needle. Push the stitches that are on it down the needle until you have access to metal end of the cable. If you knit left handed, then do this with the right hand needle. Be careful not to lose any stitches off the other needle tip.
Insert the tapestry needle into this hole.

Step 3
Pull the floss through the hole leaving approximately 12″ tail or longer at one end. It can be easy to pull all the floss through, so go slowly when you are getting close to the end.

Step 4
Slide the stitches back into place and on top of both ends of the floss. This might be a snug fit, so take your time.

Step 5
Place the longest end of the floss either in front of or behind your knitting. It’s a matter of preference that you’ll figure out as you are knitting. There is no need to hold onto the floss as you knit.

Step 6
Start knitting. As you do, the stitches and markers will end up on your lifeline. Adjust the lifeline as necessary to prevent stitches from bunching up.
Watch the shorter end of the floss to make sure it doesn’t slip out of the hole in the cord end. If that happens, just use the tapestry needle to get it back into the hole again.

Tada!
The end result. All your live stitches are securely placed on the lifeline.
Once all the stitches are on the lifeline you can opt to secure the ends. If you are working in the round and there is enough floss, you can easily tie both ends together to secure it. I suggest placing a removable stitch marker in the knot to make the knot easy to remove.
If you are working flat, make a slip knot in the ends and insert a removable stitch marker in them. Again, this makes taking the knot out quick and easy. This also lets you easily reuse your floss since you don’t have to cut it.
The problem with lifelines
The interchangeable cord trick does have a slight drawback. It’s just too easy to end up with your stitch markers stuck on the lifeline. What do you do? Well, I’ve done a couple of things when that happened to me:
- Cut the lifeline out to rescue my stitch marker which defeats the purpose of the lifeline.
- Leave the marker in place when I’ve had plenty extra around or didn’t need it anymore.
- And perhaps the worst, cut my stitch marker off the lifeline.
Bonus Tip: How to prevent markers from getting stuck on knitting lifelines

Trouble using closed markers
You can see what happens if you use closed stitch markers with a lifeline. They are automatically placed on there as you knit your stitches just like the red one in the pic.
Kitty Kitty’s tip on how to handle the stitch marker issue was pure genius! How to prevent your markers from getting stuck on the lifeline? Here’s Kitty Kitty’s solution for that yarny problem:
“don’t use a non-locking stitch marker when you do this…ask me how I know hahaha”.
Bonus Tip in Action
That yellow marker is open so that it can be easily taken off of the lifeline and put exactly where you need it on the right needle (or left for left hand knitters). Just slip it onto the needle tip. No more trapped stitch markers in your lifelines!
Keep in mind that you will need to remove the closed markers and replace them with open or removable markers BEFORE you insert your lifeline.
Love it!! Thank you Kitty Kitty!
If these blog posts inspire you and get you thinking about your favorite knitting tips, please send them to me. Sharing knitting knowledge is such a fun and great way for us to connect with each other. I would love to include your tips in my future newsletters and blog posts for all knitters to enjoy.
Do you use lifelines when you knit?
